Why is my part not sticking to the 3d printer bed while being 3d printed?
The Most common issue people experience when they first start 3d printing is that the plastic is not sticking to the printer base, so the object can not form.
While this may seem like a very serious problem, in most cases it just means you need to setup a few things correctly.
In the 3D Printing world, we use phrases like ‘First Layer Adhesion’ for this.
Lets talk about the basic steps needed to ensure you get good Initial Layer Adhesion, in Order of Importance:
- Confirm the mechanics are not loose. The bed Must NOT Wobble. The Rails on which your Head is moving must also not shake. Tighten & Fix as needed.
- Ensure your printer bed is Levelled. Please read the Bed Levelling post to Learn how to Easily Level your 3d printer Bed. Levelling is the single most important thing to do on any 3D Printer.
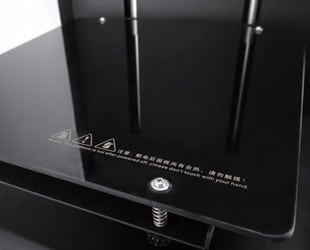
- Remember the build surface (such as tapes, glass, PEI or anything being used) was placed on the printer Platform Before the Levelling is done.
- If you are new to 3D Printing, please start with PLA first as the material – it is extremely easy to work with & helps remove other factors.
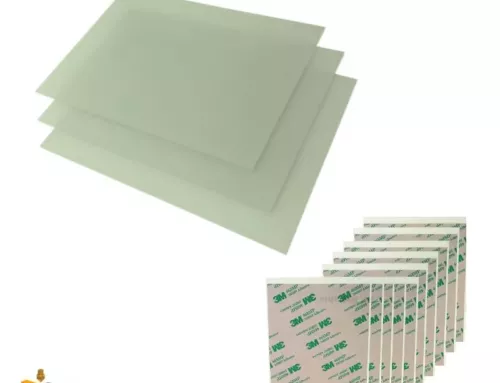
- Preferably use Paper tape for a start as the surface to print for your first 3d print if you have been having issues with the parts sticking.
- Print SLOW for a start. You can always speed up once we get a handle on things.
- Print the FIRST LAYER VERY SLOW – only around 15 mm/s. This is Regardless of the size of the part (no matter how Big or Small), or the material you are using, or the print speed of the rest of the part, the very first layer of the part must be printed extremely slowly. Regardless of whether you are turning on things like ‘Brims’, or ‘Rafts’ in your printer software, please Change your First Layer Speed to be 15mms.
- Regardless of what Layer Height (sometimes referred to as resolution though it is not the same thing) you are printing, for eg, 50 micron (0.05mm), 100 micron (0.1mm) or any other layer heights, please remember to set the First Layer Height to be at least 200 micron (0.2mm). If you can’t control this setting, then start the whole print at 0.2mm first – you can always print finer once you conquer the initial challenges.
- Ensure your Flow Rate or Extrusion rate is set to 1.0 or 100% – meaning no change to be made to it. Increase the First Layer Flow Rate slightly – This is different to the standard Flow Rate or Extrusion rate of your 3D Printer.
- If the above is still not enough, consider checking that you printer head (nozzle & other parts are not slightly blocked. Once you confirm they are not blocked, increase the First Layer Extrusion Rate (Specifically called First Layer Flow Rate or similar) to 115% or 1.15. Please DO NOT Increase the FLow rate of the entire print from the main setting – that can create very ugly looking 3d prints.
There can be other factors that may affect you, but in 99% of cases, the above steps should give you perfect First Layer Adhesion for your 3d prints time after time. Remember to Level your bed the moment you feel something is not right. Even if you don’t think its the bed, there is no harm levelling it.
If in doubt, please level your bed – its like Restarting your computer – it works more often than you realise.
And if you still have issues, please don’t hesitate to Contact Us to see if your 3D Printer needs to come to us for a Service.
Thanks folks, Happy 3D Printing.