Cleaning filament is great, but it is not so intuitive to know how to best use it.
First, we need to check if the 3d printer is in a state where we can even use the cleaning filament
- Please heat up your head & remove whatever filament was inside.
- Clean out the pipes that carry the filament around, particularly important if the tubes are long or its a bowden 3d printer.
- Check the area on the head where the filament enters to see that there are no existing pieces of broken filament left.
- If there are pieces that have been mechanically jammed at the entry point, please follow the instructions on how to clear those FIRST before attempting to go any further.
- Once you can confirm the obvious issues are resolved, we can proceed to actually using cleaning filament
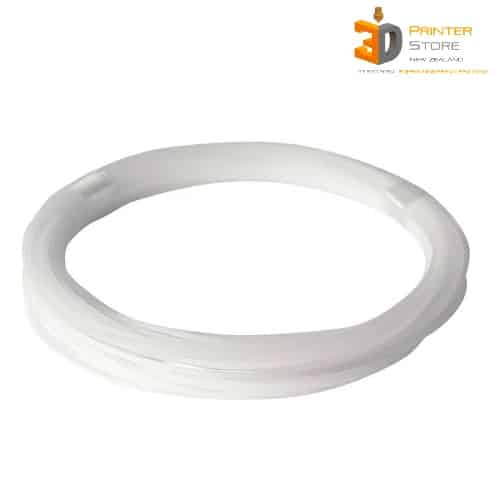
You don’t need a lot of cleaning filament – buy one of our small packs here available in 1.75 & 2.85mm
Cleaning filament is designed to stick to grime & residue inside your head, which it sticks to & then purges out.
However, it also allows that to be pulled out.
This process is called a cold extrusion pull.
Please execute this correctly as doing it wrong can DAMAGE any delicate joints or parts in your 3d printer.
- Heat the head to a temperature thats slightly hotter than the most recent 3d printing material you had used. For eg, if you had used PLA & you were printing around 210 C, then heat the head tp 240 C.
Do not exceed 280C as the cleaning filament will not work as well at that temperature. - Once the head is heated, slowly push the cleaning filament from the head entry until you can feel a little resistance.
- Do not push aggressively, the filament needs to stick to grime, & transport some of the finer particles out the nozzle.
- Keep pushing until you see cleaning filament itself coming out the nozzle that looks CLEAR & SHINY like GLASS.
- When its nice & clean looking, stop pushing but leave the filament inside. Ensure that the head is clearly holding on to the filament inside & that it has not slipped out.
- Now, turn off the extruder heater on the 3d printer – start to see it cool down. Do not leave. Wait for it to reach 120 C
- Once at 120C, pull the filament out of the head in a steady stroke. It is common to have resistance, however you should not be putting so much force that the whole unit is lifted off the table as that can break the head parts.
- When pulled out, you will see the tip of the filament completely dirty – cut it out & throw away.
- Insert the filament back in & extrude a little bit of material. Your 3d printer should be fairly clean now & extrude clean thread of cleaning filament with no impurities stuck to it.
- You can repeat this process any number of times, however usually, if 2 pulls have not helped, then you might need to change your nozzle, teflon liners, or other throat columns inside the head. This is common wear & tear especially if you print with filled filaments like Carbon Fibre & Metals.
Hope you now have a nicely working 3D Printer :)